
Vape kits offer an all-in-one solution for both novice and practiced vapers who want to create a kit from scratch, or to simply upgrade their current set-up with a new coil, tank, or drip tip. It’s handy to know that vape kits are all designed differently to help people find their perfect setup – for example, some vape kits are more suited for creating larger vapor clouds, while others deliver more intense flavor.
All vape kits contain all the necessary components, including a battery unit, a vape tank or vape pod, and a charging cable. However, more advanced kits may require you to purchase a battery and charger separately. If you follow our step by step set up guide below, you will be up and running in minutes and will be vaping like a pro!
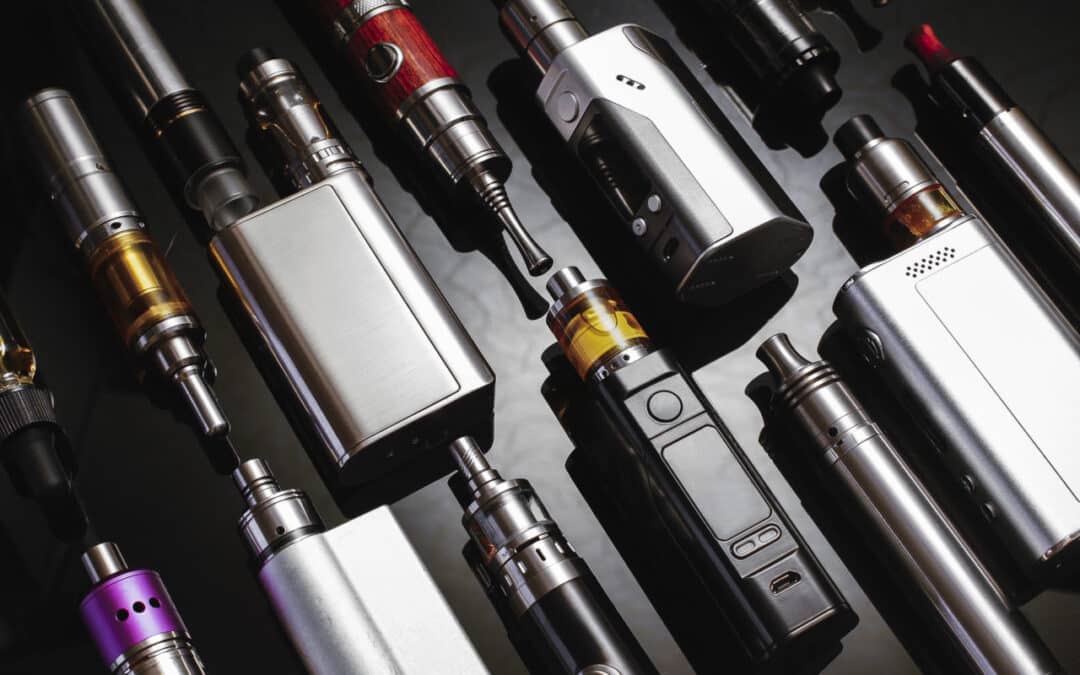
1. Remove your device from the box and place it on a flat surface in front of you.
2. If you have a pod system you will be filling the refillable pod. First off you will need to locate the filling cavity on your pod. Most pods are either filled from the top or from the side, but this will be clearly indicated on the packaging or in the manual.
If you have a traditional tank you need to determine whether your tank is a top fill or a bottom fill. 9/10 tanks are top fill but it will be marked in the product packaging/manual what your tank is.
Now that you have your tank or pod ready to fill – take your bottle of e-liquid and slowly fill the tank or pod. Be careful not to overfill. Some tanks & pods will have a max fill line. Once you have filled your tank or pod, close the cap.
3. Prime your coil: A popular method for helping the e-liquid soak through is priming. This gives you extra reassurance that you won’t get that nasty dry hit. Remove your tank or pod from the unit, so it’s in your hand and slowly draw on the mouthpiece. This suction will help draw the e-liquid into the coil faster and you will start to notice you can taste some flavor from your juice. This is how you know its working!
This is an important step to get the optimum flavor and experience. Let your tank or pod sit for 5 minutes before you first use it.….yes I know you feel like you have waited long enough…but trust me it will pay off.
What you are trying to achieve here is to make sure the e-liquid soaks right through the cotton in the coil before applying any heat. A coil has organic cotton inside that soaks in the e-liquid. By letting your tank sit you are making sure the cotton is truly soaked with e-liquid to prevent a dry hit and potentially burning the coil.
4. There are 2 types of vapes; fixed powered devices and variable powered devices. This refers to the ability to adjust the power settings and fine-tune the vape experience. If you have a pod system its likely type 1, but read through both types below to make sure before proceeding.
Type 1) If your device has NO display screen and NO controls on the side to adjust the power output this means you have a fixed powered device – jump to Step 6.
Type 2) If your device has a display screen and controls on the side to adjust the power this means you have a variable powered device – proceed to Step 5.
5. This step is for more advanced devices, usually a tank and mod set up. If you don’t’ have a screen or the ability to adjust the power settings, jump to Step 6.
Before your first vape, you want to make sure you have the correct settings to power the coil inside the tank. For Example: When using the Aspire Zelos Kit it ships with a 1.8ohm BVC coil. This coil type has a recommended wattage of 9-15watts. To use the device correctly you will set your device to output somewhere between 9-15w. Around halfway is a good place to start so you would set your device to 12w by using the arrow keys. This will make sure you don’t overpower or underpower the coil inside the tank.
If set incorrectly this can lead to the coil burning out and that bad taste we were talking about earlier. To know what settings you need for your device you can find this information in a few places; in the manual or on the packaging, on the coil itself or coil packaging, or online from the manufactures/retailer where you purchased your device from.
6. Attach your pod or tank to the body of the device and you are all set up and ready to go!
To try your new vape out for the first time; place your mouth on the drip tip/mouthpiece, begin to draw from the mouthpiece and/or hold down the fire button at the same time as you are drawing.
That’s it you’re done!! Below you can read our tips on maintaining your device and when and how to correctly change your coil.
While this can be subjective to your own vaping style and needs, it’s generally advised for beginners to purchase a starter kit that’s small, compact, and low in power output, such as a Mouth to Lung pod systems. To begin with, you can take a 1-2 second draw then slowly adjust your draw time as you use the device more to find out what draw time works for you best!
For most users charging a vape coincides with charging their smartphone so a good habit to get into is to charge your vape every night when you go to bed next to your smartphone. It is always recommended to use the allocated USB charging cable that came with your device.
Be sure to maintain your Coil/Pod to prolong it’s lifespan. One of the most crucial maintenance tips is to always have e-liquid inside your tank or pod. Never let it dry out as this can spoil the coil/pod and rapidly reduce the life and length of use.
The best practice is to refill your tank or pod when you see it get to about 1/3 full, topping it up throughout the day is best and always make sure to have a bottle of e-liquid with you when you are out and about.